
There are two kinds of knowledge base. A Space knowledge base lives in the left menu under Knowledge and is shared across agents. An agent knowledge base is created inside the agent’s Instructions screen and only that agent uses it. An agent can have its own knowledge base and linked Space knowledge bases at the same time.
Opening the Knowledge screen
In the Console left menu, under Build, choose Knowledge. The list shows every knowledge base you are allowed to see, split into four tabs: All, Mine, Shared and System. The search box on the right filters by name.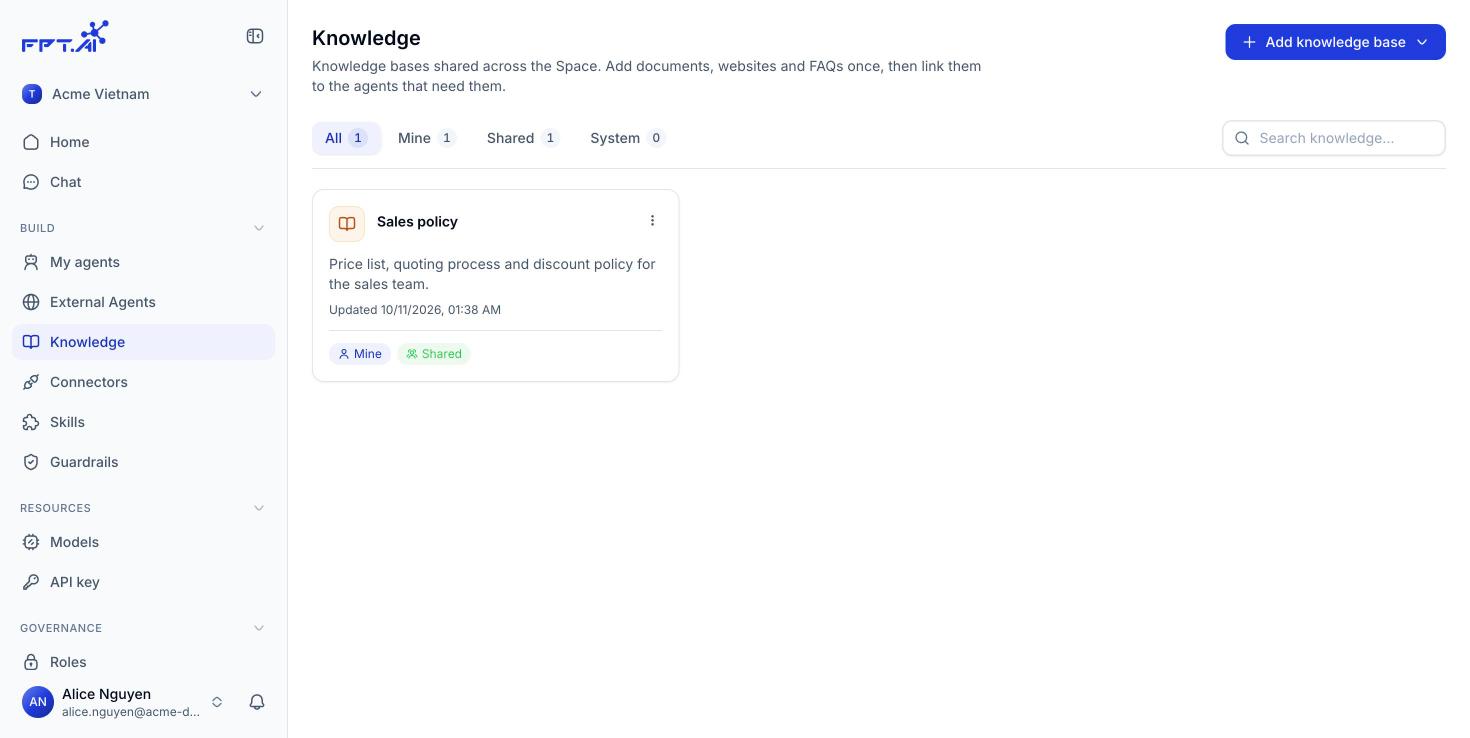
Creating a knowledge base
1
Click Add knowledge base
The button sits in the top right. The menu has two options: Create knowledge base to upload your own documents, and Connect external knowledge base, which is Coming soon.
2
Fill in the name and description
The name is required and takes up to 50 characters. The description takes up to 256 characters, so write what the knowledge base holds and other people will know whether to reuse it.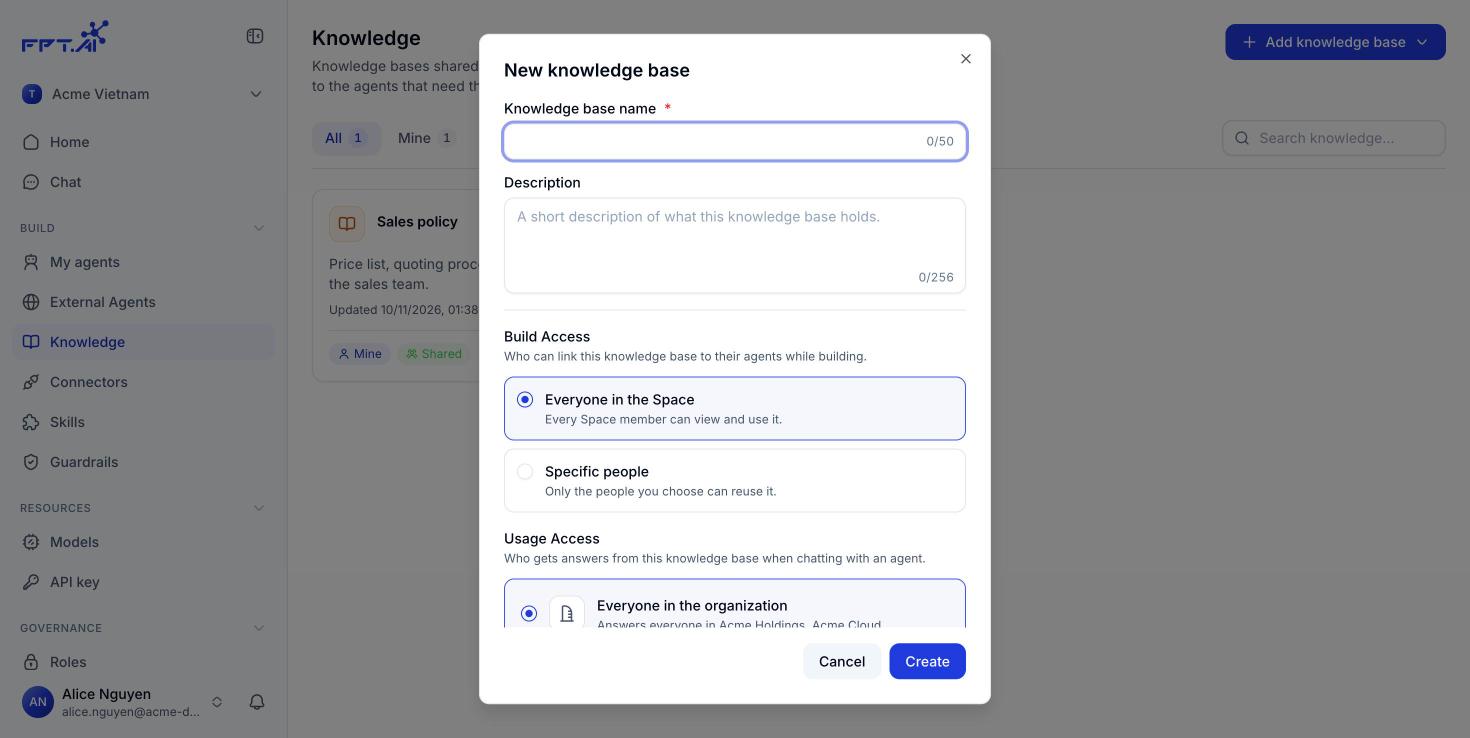
3
Choose Build access and Usage access
These two permission groups decide who can link the knowledge base to an agent and who receives answers drawn from it. See Knowledge base permissions.
4
Click Create
The new knowledge base appears in the list, empty and ready for documents.
Fields in the form
The knowledge base detail screen
Click a knowledge base card to open its detail screen. The header shows the name, the description and three summary badges: who owns it, and the level each permission group is set to.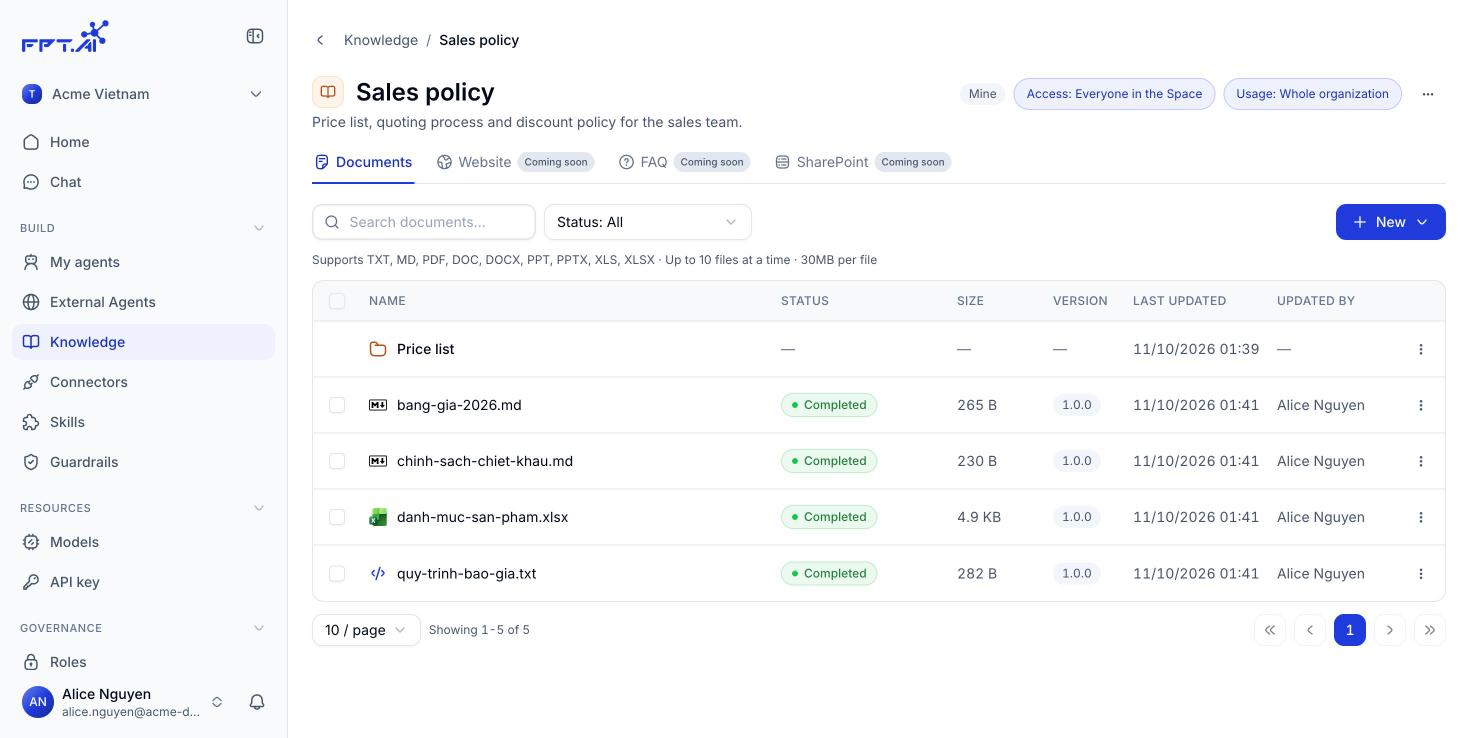
Above the table there is a Search documents box and a Status filter, so you can quickly find files that are still queued or that failed.
Uploading documents
1
Click New, then Upload documents
The New button in the top right has two options: Upload documents and New folder.
2
Drag and drop or browse for files
The dialog accepts TXT, MD, PDF, DOC, DOCX, PPT, PPTX, XLS and XLSX.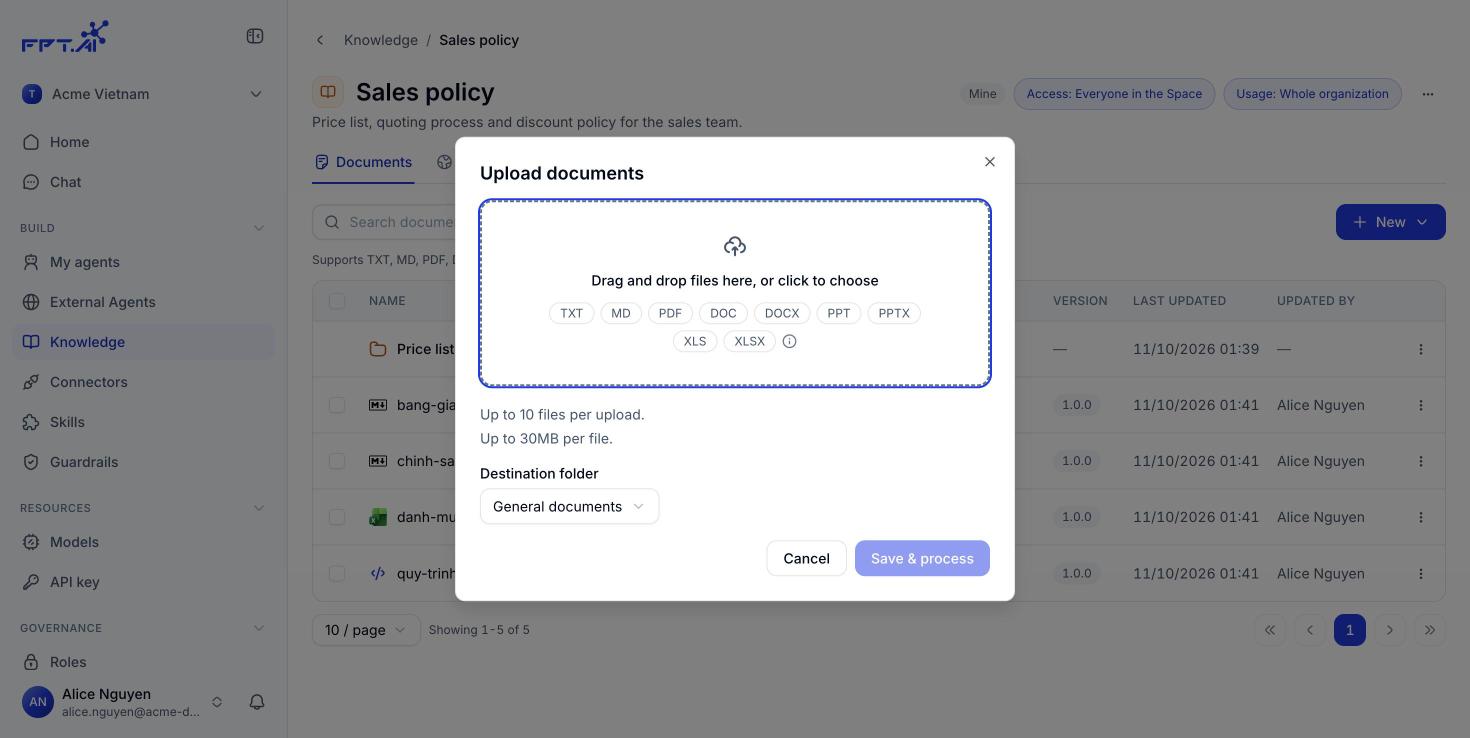
3
Pick the destination folder
The default is General documents. If the knowledge base already has folders, choose one here.
4
Click Save and process
Console takes the files and processes them in the background. You do not have to stay on the screen.
Limits per upload: 10 files at a time, 30MB per file.
File processing status
Every file moves through the states shown in the Status column:Organising with folders
Click New, choose New folder, type a name and click Create. A new folder always sits at the top level of the knowledge base. Folders let you split documents by topic or by period, for example Price list, Contract templates, Reports 2026. The Status, Size and Version columns stay empty on a folder row because a folder is not a file.Renaming, moving and deleting
The ⋯ menu at the end of each file row has these actions:
To handle several files at once, tick the checkbox at the start of each row. An action bar appears with an N selected counter and a Delete button. Click Clear selection to leave it.
Attaching a knowledge base to an agent
A knowledge base only does its job once an agent is attached to it. You do that in the agent’s Instructions screen, in the Configuration column on the right, under Knowledge.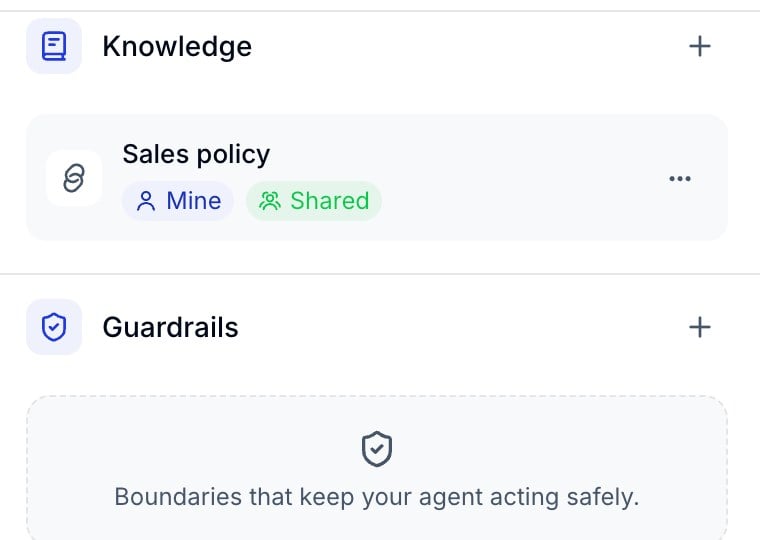
- Link an existing knowledge base: Share a knowledge base that other agents already use.
- Create new: Build a knowledge base that belongs to this agent.
Linking a Space knowledge base
1
Choose Link an existing knowledge base
The dialog lists the knowledge bases in the Space you have access to, with the owner’s name and the document count.
2
Tick the ones you need
The N selected counter keeps up. The search box at the top helps when the Space has many knowledge bases.
3
Click Link
The knowledge base appears in the agent’s Knowledge section with a badge telling you whether it is yours or shared with you.
Creating a knowledge base for one agent
Choose Create new when the documents only serve the agent you are building. The form is the same as the Space-level form, and a knowledge base created this way still appears in the Space Knowledge list if you set Build access to Everyone in the Space.Managing linked knowledge bases
The ⋯ menu next to each knowledge base in the agent’s Knowledge section has three actions:Unlinking is not the same as deleting. Unlinking only cuts the tie between one agent and the knowledge base; deleting it on the Knowledge screen removes it from the Space altogether.
A knowledge base is a Space resource, not part of an agent’s version. Adding or removing documents takes effect immediately, even for an agent that is already published. Attaching or unlinking a knowledge base, however, is a change to the agent’s configuration, so you still need to publish it for the deployment channels to pick it up.