
Integration architecture
The platform offers two channels for putting an agent in front of your end customers. Both channels share the same agents, the same knowledge base and the same conversation history; they differ only in who owns the chat interface.Live Chat channel
We provide the chat interface. You paste an embed snippet into your website, or call the SDK in your mobile app.
API channel
You keep the chat interface you already have. Customer messages are pushed to us over a webhook; answers come back to your webhook as callbacks.
Opening the Channels tab
Open the agent and pick Channels from its navigation bar. The header reads “Where this agent serves, and which version is running”.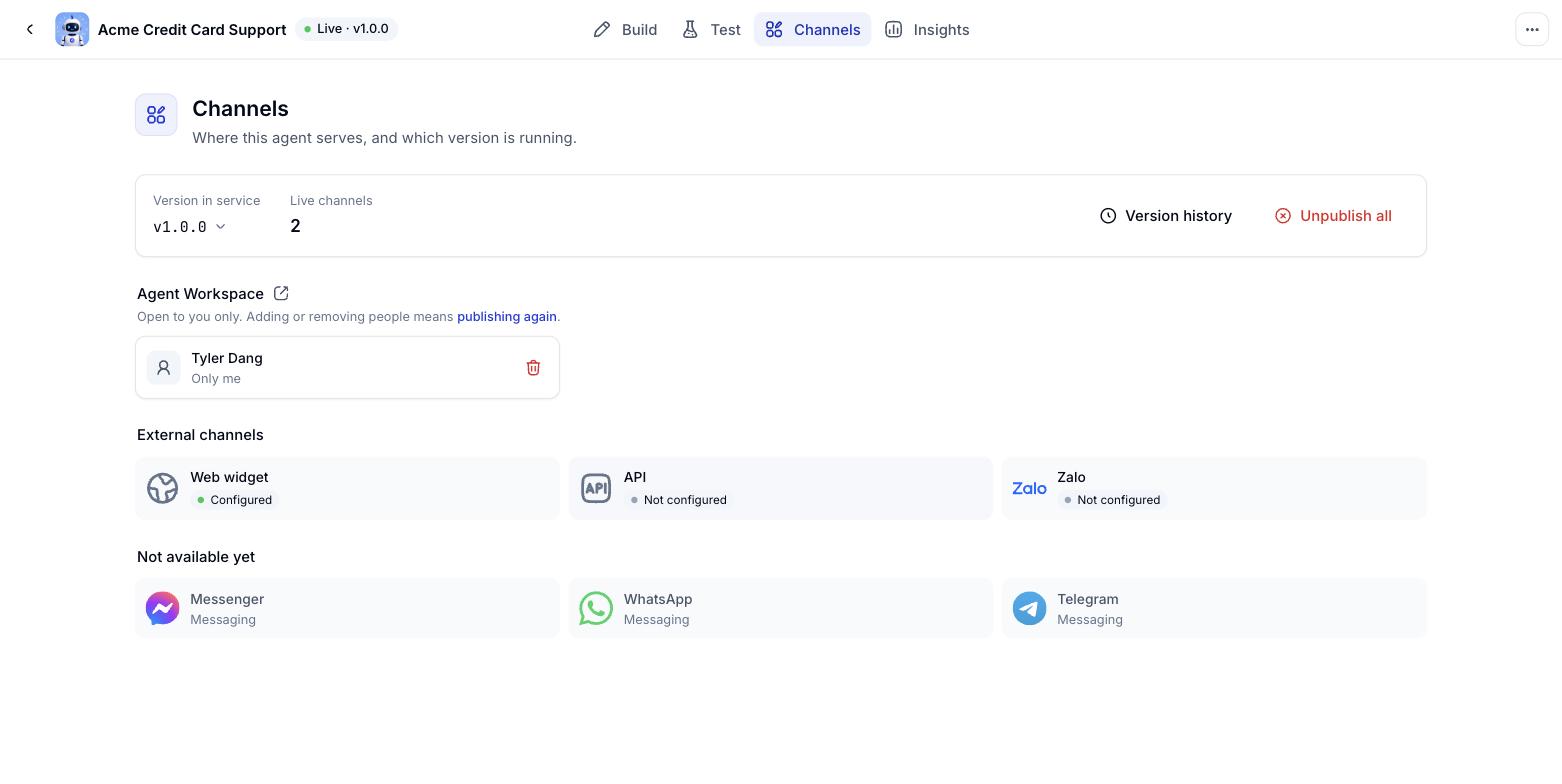
Live channels
The Live channels count tells you how many channels are genuinely serving users. A zero means nothing is running, whether or not you have configured a channel. The Go to Build button takes you back to the Agent builder tab to publish a first version.Agent Workspace
The Agent Workspace block shows who the agent is open to inside the Workspace. Before the agent has ever been published, this block sits empty with the prompt: “No published version yet. Publish a version on the Build tab first, then come back here to open it to people.” Once published, it shows the sharing scope you chose (only you, a company or department, or the FPT AI Agent community) and the version currently serving. More on the Publishing page.External channels
The External channels block lists the channels outside Workspace along with their configuration state.Web widget
Live chat on your website. Starts out as Not configured.
API
Called directly from your own systems. Starts out as Not configured.
Zalo
Official Account. Starts out as Not configured.
Channels not open yet
The Not available yet block lists messaging channels still on the roadmap. They are shown so you can see what is coming; they cannot be configured.Messenger
A Facebook page answering customers through the agent.
A WhatsApp Business number answering customers through the agent.
Telegram
A Telegram bot answering customers through the agent.
Adding a deployment channel
1
Pick the channel to configure
In the External channels block, click a channel marked Not configured.
2
Fill in the configuration
Each channel asks for different details. See Live Chat channel or Zalo channel.
3
Save
Click Save configuration for the Web widget, or Connect for Zalo. The channel moves from Not configured to configured.
4
Switch the channel on when you publish
Return to the Agent builder tab, click Publish, tick the channel under External channels and publish.
Choosing which version serves on each channel
Channels can run different versions. You might keep the website on a stable v1.0.1 while Zalo already runs v1.0.2.1
Open the channel you want to change
On the Channels tab, click the running channel.
2
Open the version list
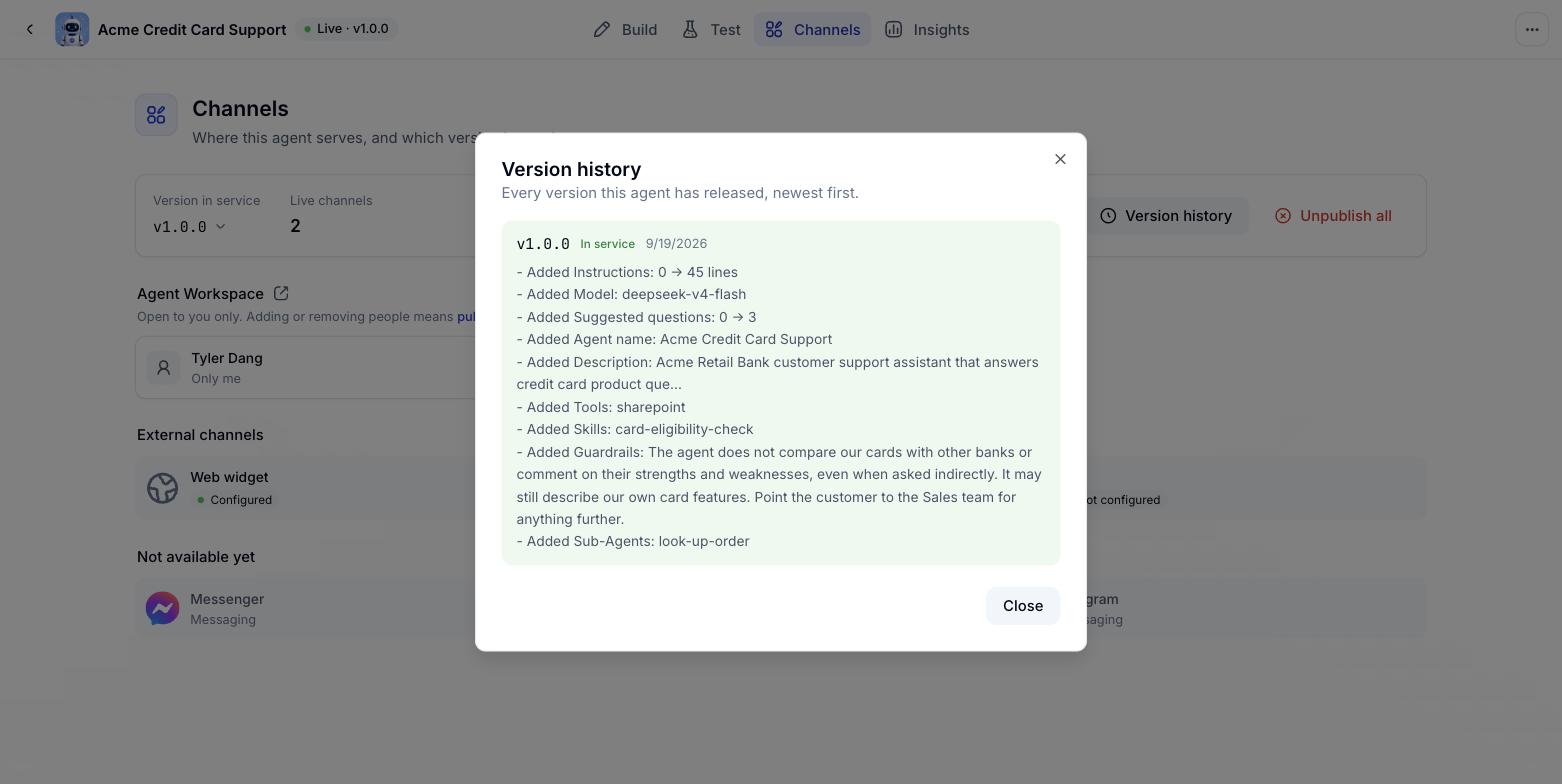
Click the release selector. The list shows every published version with its release date and notes.
3
Pick the version to serve
The one currently running is marked Serving. Choose another to switch.
4
Confirm
Click the release button to apply. Click Cancel if you were only looking.
Editing a channel’s configuration
Click a configured channel to reopen its settings. Change what you need and save. For the Web widget, appearance changes take effect immediately everywhere the code is embedded - no need to re-embed.Technical integration documentation
This page covers switching channels on and managing them in Console. When your engineering team needs to embed more deeply, see the integration set:Live Chat channel
Embed code, widget customisation, share links and the Visitor API for teams building their own interface.
Mobile SDK
Bringing the chat window into Android and iOS apps.
API integration
Webhooks, HMAC signing, callbacks, reading conversation history and API keys.
Technical appendix
Error code tables, system limits and the pre-production checklist.
Disconnecting a channel
There are two ways to stop serving on a channel:Switch it off at publish time
Open the Publish dialog, untick the channel under External channels and publish. The channel keeps its configuration and simply stops serving.
Disconnect it entirely
Open the channel’s configuration panel and disconnect. This wipes the connection details, so you would have to enter them again to come back.
After disconnecting, the Live channels count at the top drops accordingly. Check that number after every change to be sure the agent is serving exactly where you intend.